
Whenever I feel exhausted, I just want to do gardening. It helps me regain the positivity that I lost somewhere. When I see the plants, I see myself. How am I growing like this plant? How am I attached to my roots by this plant, & how am I connected to my divine creator like this plant? Today, I have a new and exciting way to connect with nature i.e., rock gardening.
So, whenever you feel stuck, just go to your roots. Go to your divine creator. Feel the nature by gardening. Just spend time with flowers and plants, and walk on the soil to light up your mood.
If you have a garden and a library, you have everything you need…
~Marcus Tullius Cicero
Let’s beautify your home garden with rocks and stones. Rock gardening is an interesting and exciting way to adorn your garden. I will help you with rock gardening at home. Whenever you feel like doing something great at home, read this blog again and again!!!
What is Rock Gardening?
First, let’s understand what rock gardening is.
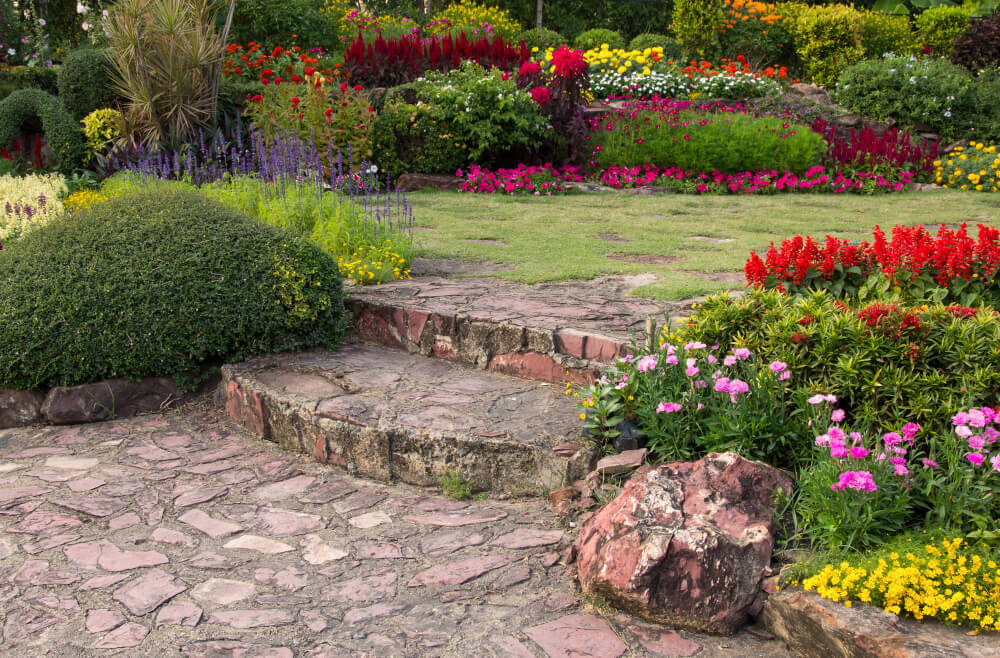
Rock gardening is a creative way to embellish your garden with an attractive arrangement of pebbles, rocks, or gravel. The most favorite plant for rock gardens is the Alpine. Because of their small, dissected or succulent leaves, Alpine plants can handle harsh climates and nutrient-deficient soil. They also do not lose water quickly because of their low surface area.
Rock gardening adds an earthy look and helps you to connect with the natural world. Arrange the rocks to make walkways and beds from your house to your garden. It can be done on a vast scale as well as in a very small corner of your garden to increase its beauty.
Types of Rock Gardening
There are numerous types of rock gardens, varying in shapes, functions, styles, locations, and sizes. Factors that affect rock gardens are the size of the rocks, the types of rocks, the use of water, and many more.
The most common types of rock gardening are:
- Rock-studded berms gardening: It is the most common rock gardening method. It involves embedding rocks into the soil on both sides of the berm. This helps add dimension to flat sites as well as separate your garden.
- Crevice gardening: In this gardening, most parts of the rocks lie beneath the soil, broadening the palette to embrace natives. You can start by setting sandstone slabs vertically into the sand and filling them with more washed, sharp sand or grit. Choose plants that have excellent drainage and use little water, such as succulents, alpines, etc.
- Scree gardening: In this gardening, loose stones, rocky stones, and gravel stones are set up at the base of a slope. The most interesting thing is that the plants of a scree garden can tolerate drought as well as extreme temperatures. You have to choose a sunny part of your garden to make scree and make sure it gets sun in winter. The suitable plants for scree are cushion plants.
- Raised bed gardening: It is a very simple and fantastic rock gardening technique. First, select the area where you want to make a raised bed garden. Then, start putting rocks or slabs to cover the whole area with them and make a raised wall. After this, fill up the soil and start planting.
Craft your own rock garden and choose the one that suits you best.
Advantages of Rock Gardening
There are numerous advantages of rock gardening, such as:
- It does not need intensive pruning, watering, mowing, etc. It varies on the size of the rock garden.
- They are easily tolerating highly harsh climates.
- Rock garden plants are very tough and can easily survive in extreme weather.
- Enjoy the beauty of rock gardens throughout the year.
- Various rocks of various sizes provide an idiosyncratic look and texture to your rock garden.
- They provide peace and tranquillity to your mind and soul.
Rock gardens provide numerous benefits and incredible beauty to your space. You don’t have to take too much. All you just need to do is choose wisely.
Let’s Craft your Rock Garden!
Now, you understand the rock garden, its types, and its benefits. So, let’s move on to how to craft a rock garden at your home.
Step 1: Choose the site suitable for a rock garden
The best space is where your garden gets good sun, has a perfect drainage system, and avoids frost pockets. Also, make sure it is away from overhanging trees or tree roots.
Step 2: Do some research
Explore various types of rock gardens on the internet or in your surroundings (if any). Get help from gardeners. If possible, visit a rock garden. It will help you to get the idea for the rock garden that you want to make.
Step 3: Sketch a plan
After exploring, you will have a basic idea of your rock garden. So, make a plan because a rock garden is a major investment. You have to manage your time, money, and energy. First, select the type of garden you want to make. Then, select rocks and plants according to your rock garden’s needs. Finally, make a sketch to give your rock garden a perfect style
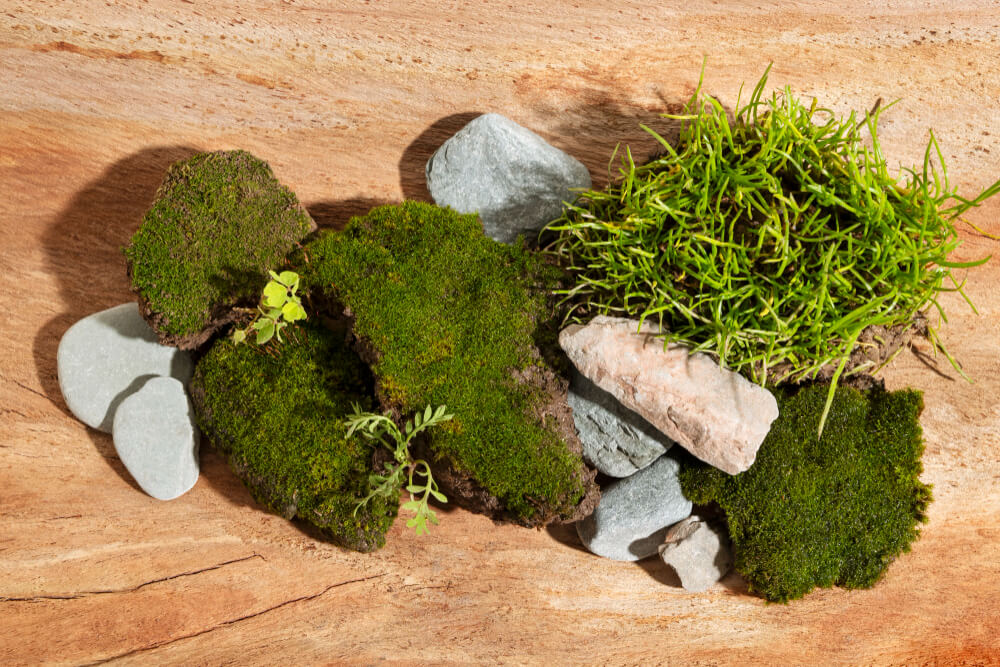
Step 4: Collect the materials
According to your space and the chosen style, you have to start collecting materials such as small stones, irregular rocks, smooth pebbles, pipes, slate, sandstone, limestone, gravel, etc.
Step 5: Get your soil ready
Amend your soil according to the chosen plants. Before that, a soil test should be conducted to know the soil texture, amount of organic matter, alkalinity and nutrients. Sandy soil is suitable for alpine plants because it has good drainage. Make the area weed-free, and then build a base with coarse rubble, stone, broken bricks, pea shingles, etc. Don’t forget to mix particles, sand, and soil in a perfect proportion. You can get help from the rock gardeners or local gardeners.
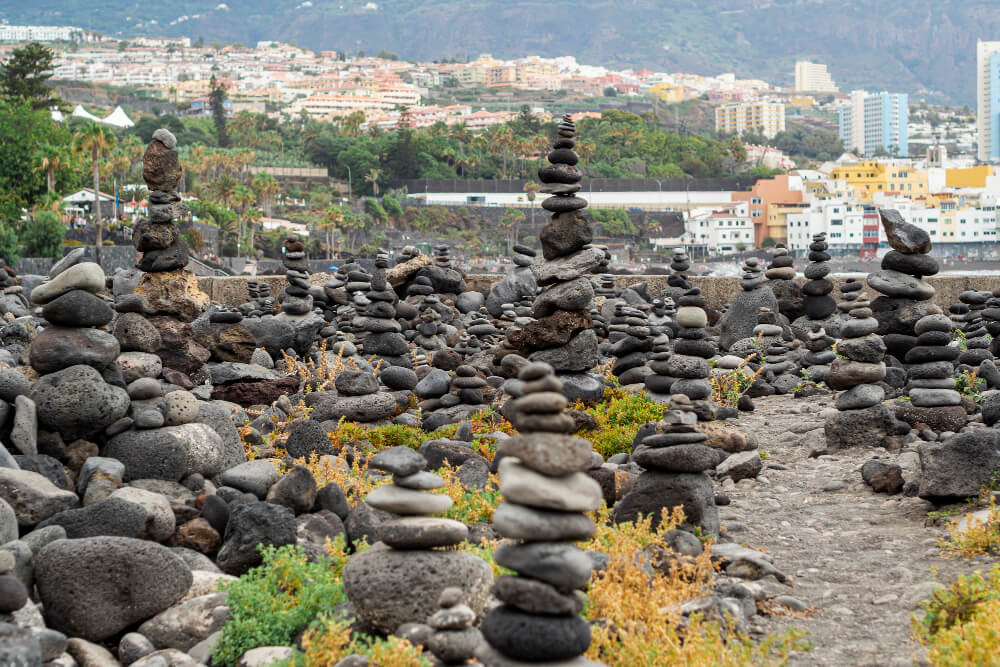
Step 6: Placement of rocks
Now, the most exciting step is to place the rocks in their position. So, according to the contrast and pattern or type of rock garden you want, start putting the rocks such as gravel, stones, pebbles, and slabs. Remember this while placing the rocks: you must place the smaller stones or gravel around the larger rocks to make your garden appealing. Also, mixing large and small makes it enjoyable with various colors and tones.
Don’t forget to place the rocks so that the drainage system and stability do not hinder them. Align your rocks according to the type of garden you want. Keep it naturalistic.
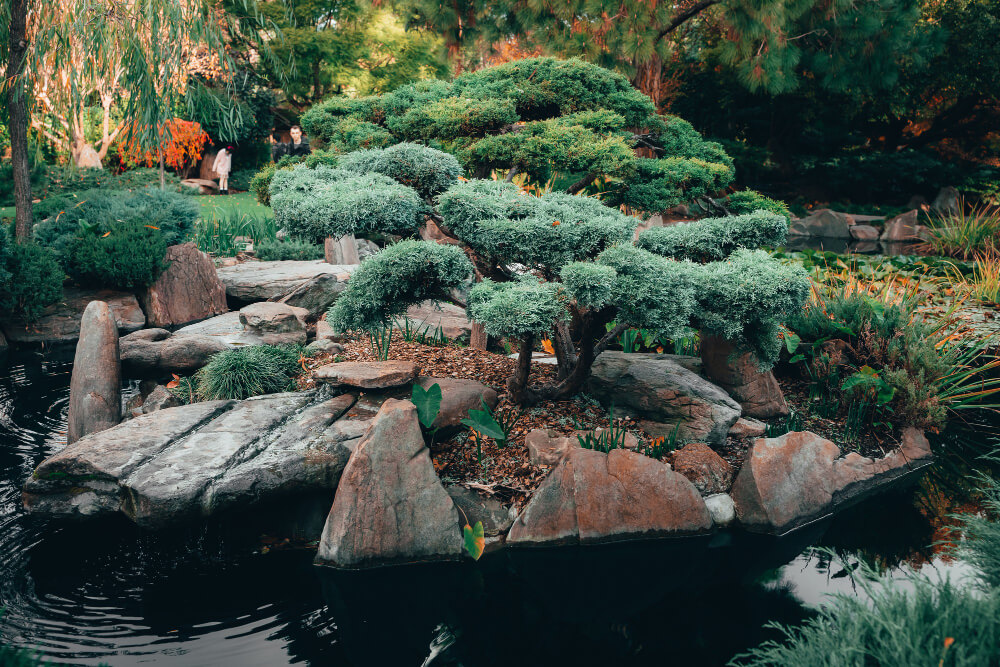
Step 7: It’s time for plants
Choose the plants carefully that make your rock garden appetizing such as perennials, small shrubs, narcissus, alliums, wild tulips, mosses, ferns, hostas, ornamental grasses, conifers, poppy, sedum, lavender, and many more. After choosing the best plants then make a hole along the surface of your rock garden and drop the roots in the hole.
Refill the soil and pour the water gently. To make the base of your plant attractive, surround it with grit or gravel. Take care of the plants and give them water accordingly.
Step 8: Don’t forget to maintain your garden
You have to pay attention to your rock garden by:
- In summer, plants dry out quickly because rocks absorb more heat. So, give them adequate water.
- Fertilize plants according to their needs. For instance, Alpine and Succulents do not want more nutrients, but hostas and coral bells do.
- Suppress weeds by filling smaller rocks or gravel around the plants.
- Keep pruning and maintain your rock garden.
- Keeping away ants, aphids, slugs, vine weevils, and snails.
In conclusion, keep experimenting and keep doing rock gardening. But take care of your time, money, and energy. Maintain your garden and enjoy.
What’s Next?
Share your rock gardening journey with me. I’m happy to hear and encourage you. If you need any assistance, I’ll try my best.
Happy gardening!
I am extremely inspired together with your writing talents as well as with the layout in your blog. Is this a paid topic or did you customize it your self? Either way keep up the excellent quality writing, it is rare to look a nice blog like this one today!
Thankyou. I’m really happy to see that my writing inspired you. And this is not the paid topic, I customized it myself.